A bakery counter succeeds when customers can see, understand and reach the right products without blocking the queue or damaging temperature-sensitive food. By the end, you will be able to map your shop, choose a suitable counter format, plan shelf placement and lighting, and test a supplier’s claims before committing to the purchase.
Key takeaways
- Map customer and staff routes before fixing the counter size.
- Keep chilled products at their required temperature, not room temperature.
- Use adjustable shelves to separate tall cakes from smaller pastries.
- Test cleaning access, lighting glare and queue flow in the real shop.
Map the customer journey before choosing the counter
A counter should guide customers in one direction without forcing them to cross staff work zones. Mark the entrance, ordering point, payment counter placement, collection area and exit on the floor before choosing its length or shape. Leave a clear staff route behind the counter, separate from the customer traffic.
Map the journey in this order:
- Enter and join the queue without blocking the door or neighbouring tables.
- Follow a visible queue direction past the display, with enough space for customers to pause and choose.
- Reach the ordering point after viewing the products and prices.
- Move to payment without stepping back into the ordering queue.
- Collect packed items at a separate point if orders take more than a few seconds.
- Exit without passing through the staff route or colliding with incoming customers.
Use the layout that matches your shop:
| Layout | Customer movement | Staff movement | Main risk |
|---|---|---|---|
| Single-wall counter | Queue runs parallel to the display | Staff work behind one continuous line | Customers may block the queue while waiting for payment |
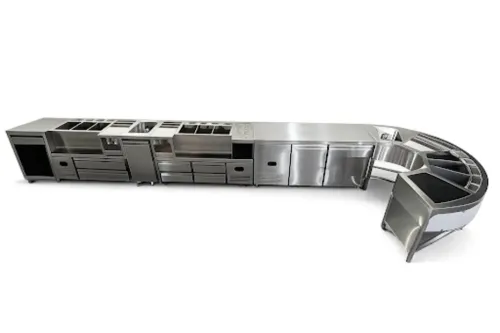
| L-shaped counter | Queue turns around a corner | Separate ordering and collection legs | The corner can hide products or create a bottleneck |
| Counter with separate pickup end | Customers leave the payment area quickly | Packing staff serve from a dedicated section | Pickup space becomes cluttered without clear order labels |
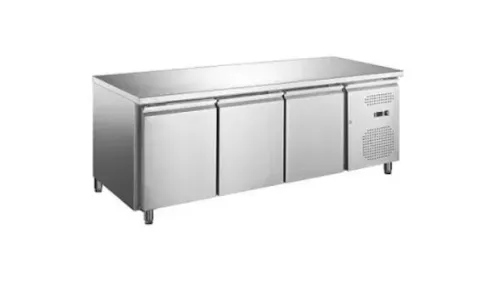
Place the payment counter near the exit only when customers can reach it without crossing the collection area. Keep refrigeration vents and service access away from the queue; integral units need ventilation, while remote-condensing systems need planned pipework, drainage and maintenance access.
Size the counter and plan a display customers can scan
Choose counter dimensions from the products and the space left for movement, not from the cabinet’s appearance. Measure the available wall or island length, subtract queue and staff clearances, then use the remaining counter length for display.
Set counter depth so trays can be reached without making the customer lean across the service area, and choose counter height that keeps products visible while allowing comfortable ordering and handover.
| Dimension | Choose it from | Failure if wrong |
|---|---|---|
| Counter length | Number of product groups and refill frequency | An overlong run looks empty; a short run forces crowding |
| Counter depth | Tray dimensions, reach distance and service space | Deep shelves hide products at the rear |
| Counter height | Viewing angle, service task and customer sightline | High glass blocks small items; low units lose visibility |
| Shelf spacing | Tallest package, cake height and hand clearance | Tight shelves damage goods and slow replenishment |
Use shelf spacing based on actual trays, cake boards and packaging, then leave visible air above each group. Do not fill every gap: begin with enough stock for the peak refill interval and keep the front row neat. Never block the supply-air outlet, return-air grille or manufacturer’s load line.
- Group bread and biscuits separately from cream-filled pastries and chilled cakes.
- Arrange within each group by flavour, price or purchase occasion, using one clear cue rather than several competing signs.
- Keep chilled products at 5°C or below; pre-chill them before loading, and verify product temperatures on every shelf because the cabinet’s air display can mislead.
Match each product to the right shelf, temperature and lighting
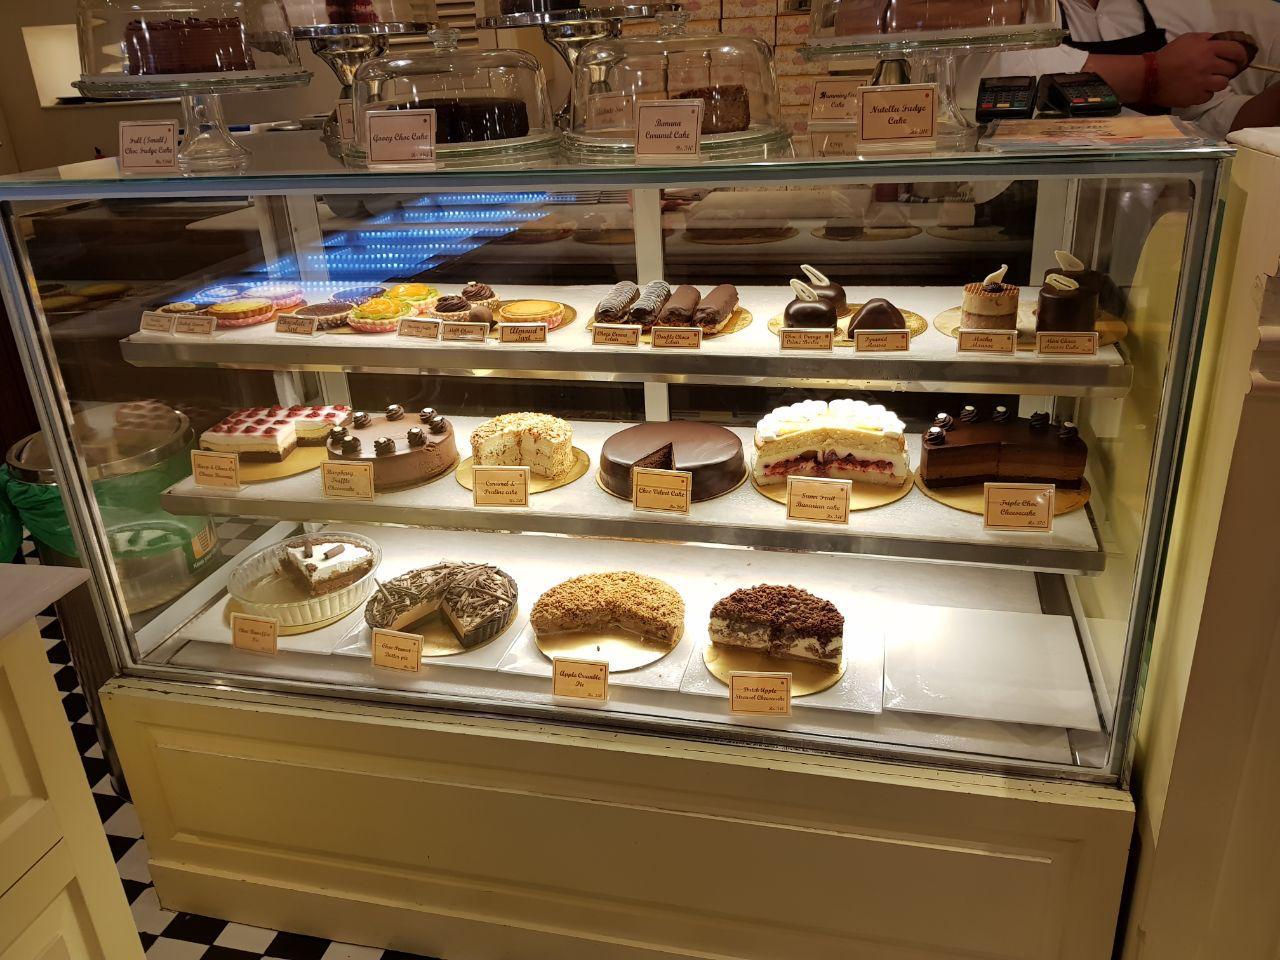
Place the products customers must notice first on the eye-level display shelf, but match that position to the correct holding condition.
| Zone | Products | Holding and lighting |
|---|---|---|
| Eye-level chilled shelf | Cream cakes, mousse cakes, custard pastries | Keep product at 5°C or below; use even, low-heat lighting |
| Lower chilled shelf | Cream-filled pastries, sandwiches and other ready-to-eat chilled items | Keep at 5°C or below; avoid dark corners near the door or open face |
| Eye-level ambient shelf | Signature breads, croissants and dry pastries | Keep at room temperature; use neutral, high-colour-rendering light |
| Lower ambient shelf | Biscuits, rusks, packaged loaves and sturdy grab-and-go items | Keep dry and protected from direct heat or sunlight |
Bread, biscuits and many dry pastries belong in an ambient counter, not a refrigerated cake display. Refrigeration can accelerate staling and make pastry texture tough, while an enclosed chilled case can dry exposed products even when its air temperature looks correct.
Pre-chill cream cakes and mousse cakes before loading. A large warm batch can overwhelm the refrigeration system. Keep cake boards, trays and risers below the manufacturer’s load line and clear of supply-air outlets and return-air grilles.
During commissioning, measure product temperature on the top, centre and bottom shelves, including near the door and return-air path. Check recovery after loading, not just the empty cabinet reading. Ask for performance at your shop’s actual ambient temperature, especially if the counter sits beside an oven or in direct sunlight.
Compare counter formats, finishes and daily operating effort
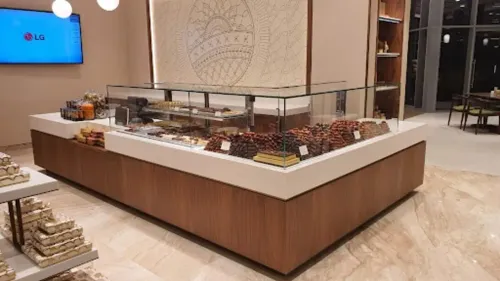
Choose by service speed, not appearance alone. A straight counter suits a single queue and gives staff the shortest reach; an L-shaped counter uses a corner but creates a hard-to-clean junction and can hide products around the bend.
| Format | Visibility and access | Capacity, cleaning and durability |
|---|---|---|
| Straight counter | Clear front view; customers and staff reach the same run easily. | Efficient for one product zone; fewer joints to wipe; sturdy if the base is levelled correctly. |
| L-shaped counter | Displays two sightlines, but the inside corner can disappear from view. | More frontage in a corner; clean the corner seam carefully; extra joints increase maintenance. |
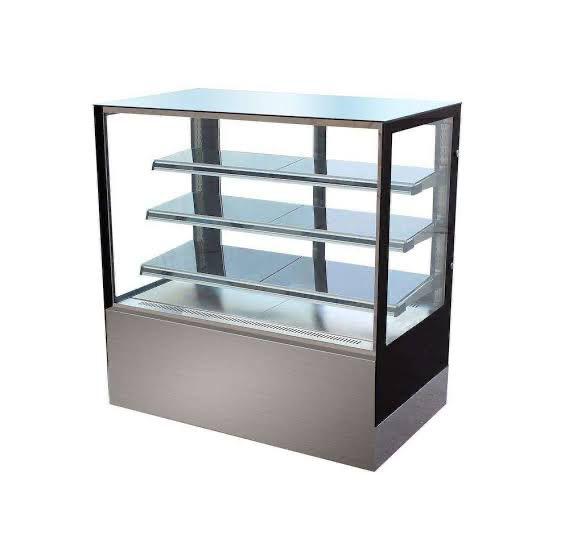
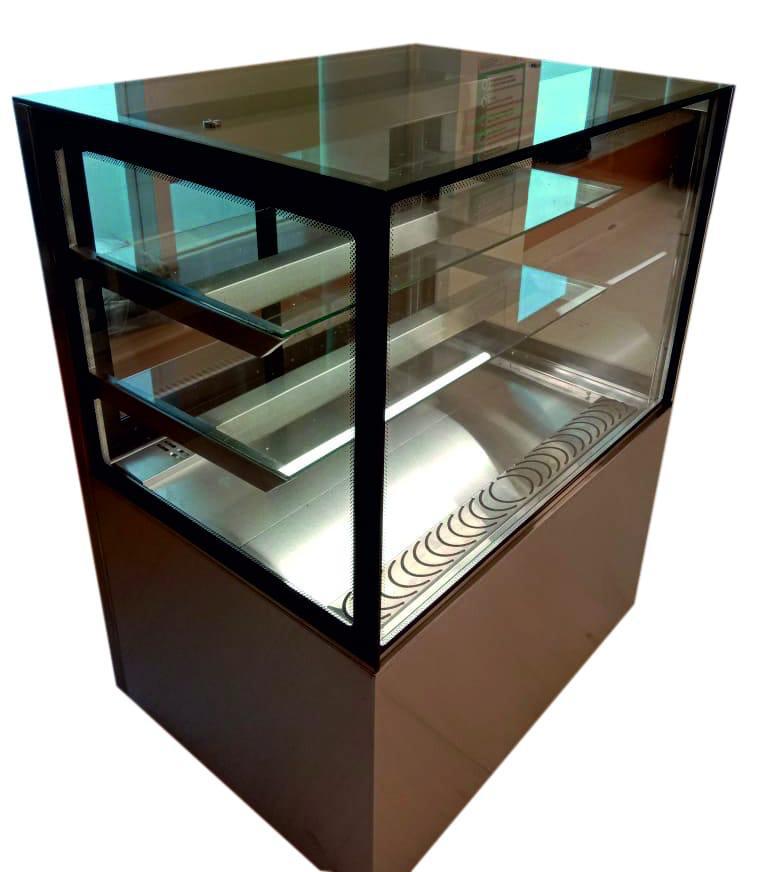
| Three-tier display | Strong vertical visibility for packaged goods and pastries; upper shelves are harder for shorter customers to reach. | High capacity per metre; clean every shelf edge and support; overloaded tiers strain brackets. |
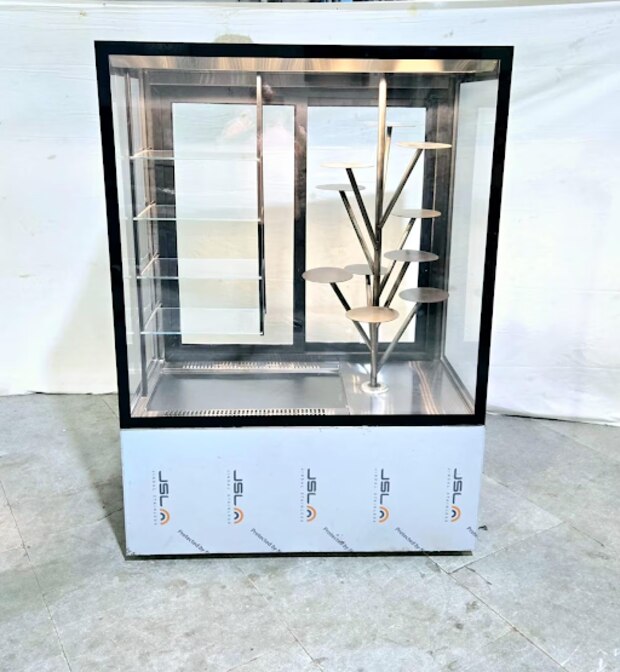
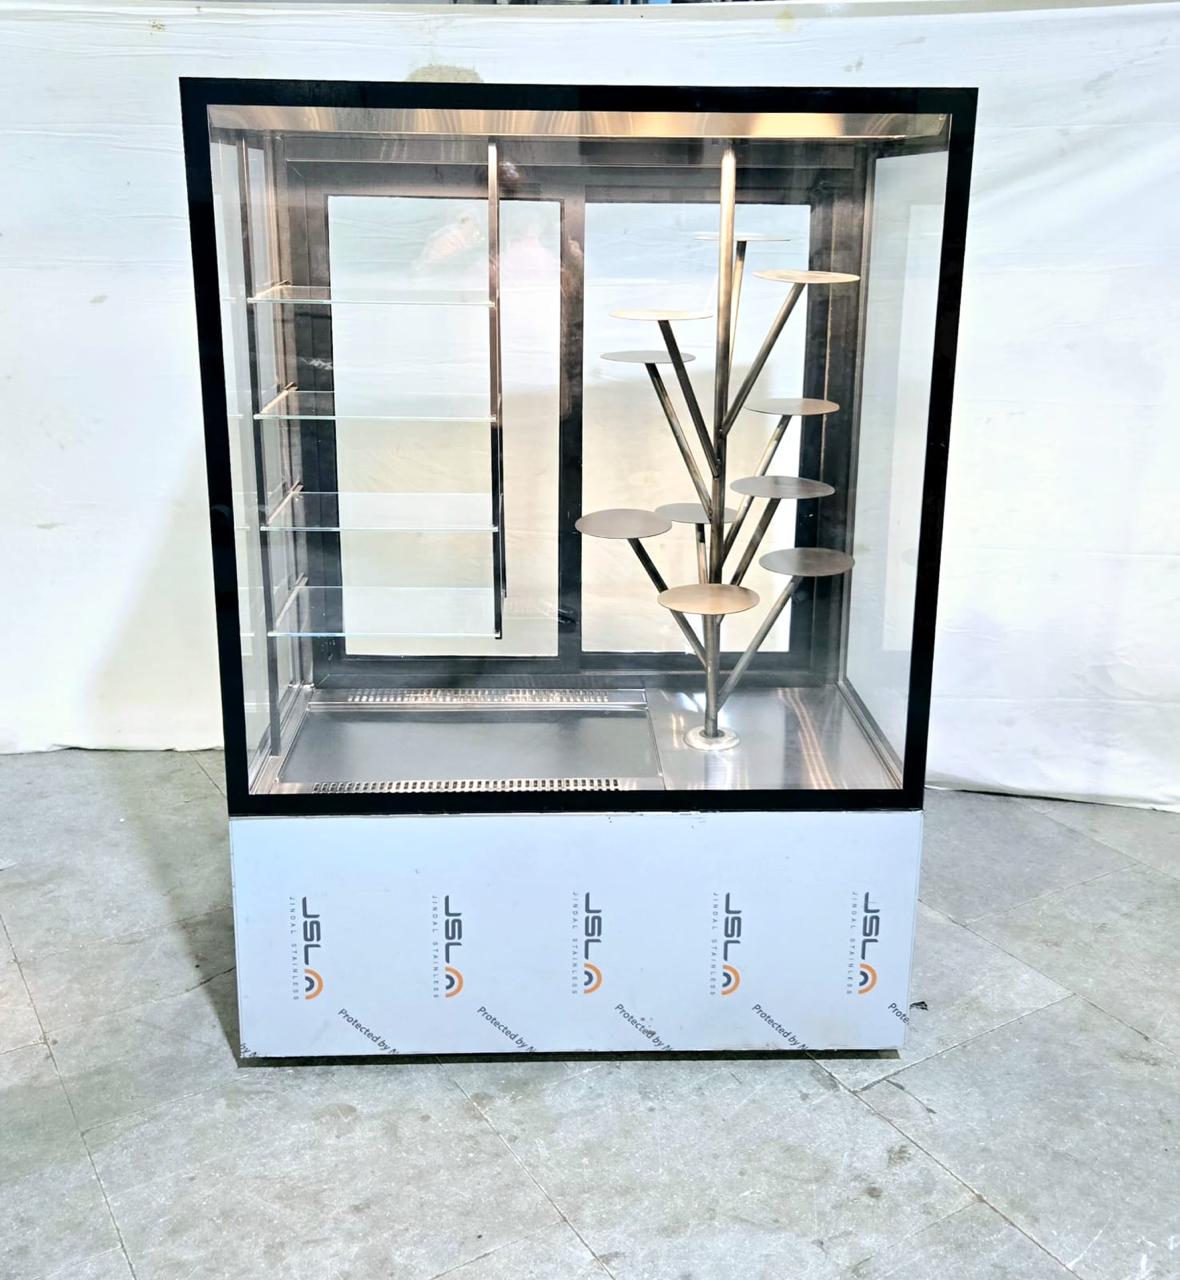
| Revolving display | Products face customers as the unit turns; access is shared rather than simultaneous. | Uses a small footprint for many items; crumbs enter bearings and tracks; rotating hardware needs regular inspection. |
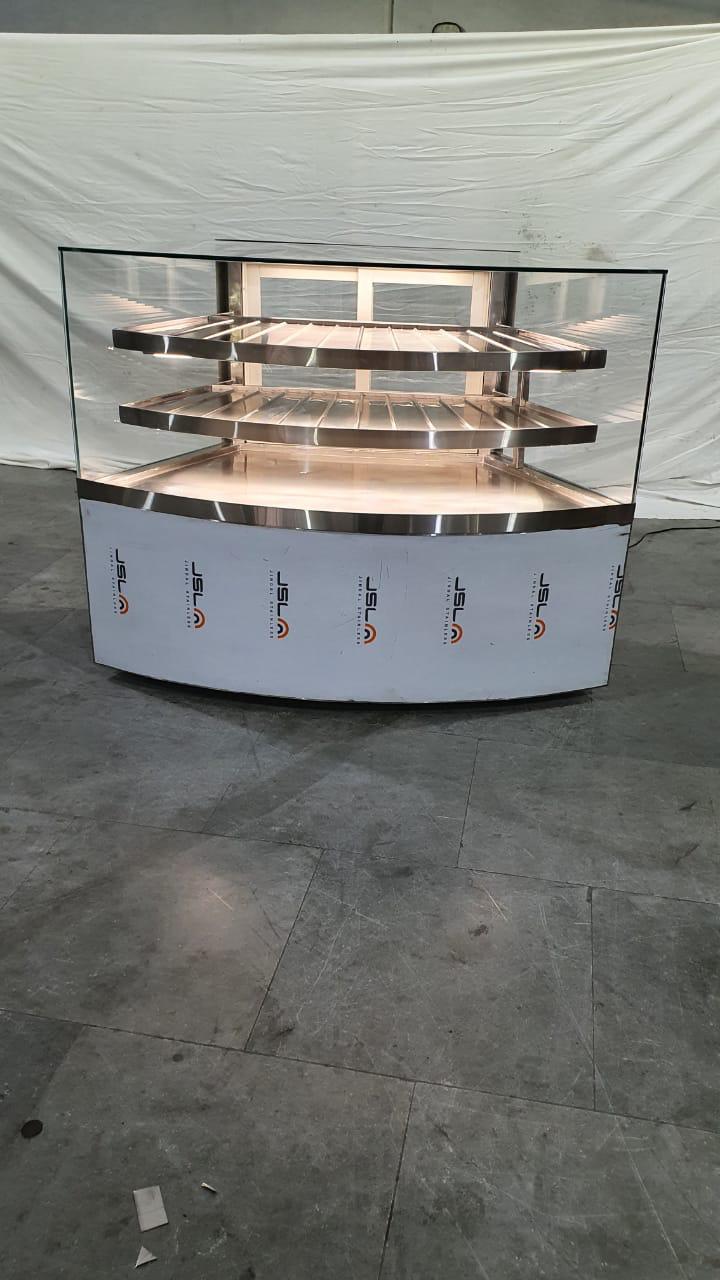
| Curved-glass counter | Smooth, premium sightline with fewer visual interruptions; glare and reflections can obscure cakes. | Moderate capacity; curved glass takes longer to clean and costs more to replace; check seals for moisture entry. |
Use stainless steel on work surfaces and exposed edges where spills and frequent wiping occur. Powder-coated panels reduce visible fingerprints, while laminate suits dry exterior panels but fails sooner at chipped or wet edges.
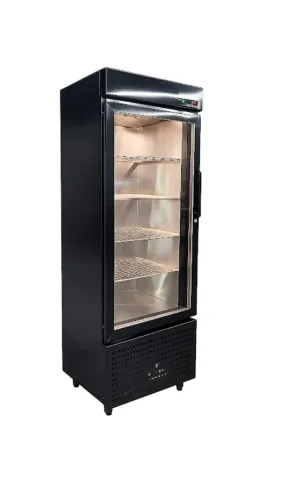
Open fronts speed access but admit humid Delhi air, increasing condensation and compressor work. Doors reduce infiltration yet add handles and cleaning; keep chilled products at 5°C or below, including after loading. LED strips should avoid glare and excess heat.
Use a supplier checklist and test the counter in the real shop
A counter that fits the wall can still fail at lunchtime. Test it with the queue, staff and a full day’s product before you approve the purchase.
1. Measure the installed footprint, including service clearance, door swing and condenser ventilation space. Record usable shelf dimensions rather than external length and depth; these determine how many trays, cake boards and risers actually fit.
2. Ask the supplier for the load limits for every shelf, the cabinet floor and any revolving mechanism. Place your heaviest cake on the lowest suitable shelf and reject a design that bends, vibrates or restricts the air path.
3. Confirm the glass type, access method and replacement cost. Doors reduce warm, humid air entering a refrigerated case, while open fronts speed customer access but increase condensation, compressor work and recovery time.
4. Require the rated temperature range at your actual installation ambient and electrical conditions. Test the warmest product position at 5°C or below after loading, repeated door opening and a peak-period recovery cycle; nominal “2–8°C” wording is not enough.
5. Check that trays cannot block the supply-air outlet, return-air grille or manufacturer’s load line. Inspect LED lighting for glare, condensation protection and colour rendering, then check whether nearby ovens, sunlight or poor condenser ventilation raise the cabinet temperature.
Calculate peak capacity as usable shelf area ÷ footprint of one loaded tray × sellable units per tray. Compare that number with peak-hour demand plus the quantity you can replenish during the rush.
Then divide expected peak sales by the counter’s floor footprint; Vinaayak Enterprises can use this figure when comparing a straight, tiered or revolving counter for your site. A larger cabinet is a poor choice if it adds floor area without adding sellable capacity.
Related products
 | Bakery, Cake & Confectionery Displays Vinaayak Enterprises offers premium-quality Three Stories Bakery Display counters designed for attractive and organized presentation of bakery and... View product → |
 | Bakery, Cake & Confectionery Displays Commercial Bakery Display Counter Vinaayak Enterprises Commercial Bakery Display Counter is designed for bakeries, pastry shops, cafés, hotels, restaurants and confectionery outlets... View product → |
Frequently asked questions
How should you map the customer journey before choosing a bakery counter?
Mark the entrance, ordering point, payment position, collection area and exit on the floor. Keep customer movement separate from the staff route behind the counter.
How do you choose the right size for a bakery display counter?
Measure the available floor area, queue width, staff passage and product volume together. Leave enough space for customers to scan products without blocking ordering or payment.
Which bakery products need chilled display conditions?
Place cream cakes, fresh cream pastries, custards and other temperature-sensitive items in a refrigerated display. Keep bread and products that do not require chilling in a dry display with suitable ventilation.
What should you compare when selecting a bakery counter?
Compare straight, curved and modular formats by footprint and customer flow. Check the finish, shelf adjustment, lighting, glass access, cleaning time, service access and maintenance requirements.
Related products
 | Bakery, Cake & Confectionery Displays Vinaayak Enterprises offers premium-quality Bronze Plated Bakery Display counters designed to provide an elegant and sophisticated presentation for... View product → |
 | Bakery, Cake & Confectionery Displays Vinaayak Enterprises offers premium-quality Revolving Bakery Display counters designed to provide an attractive and modern presentation for bakery... View product → |
 | Bakery, Cake & Confectionery Displays Vinaayak Enterprises offers premium-quality Curved Glass Bakery Display counters designed to provide an elegant and modern presentation for bakery... View product → |
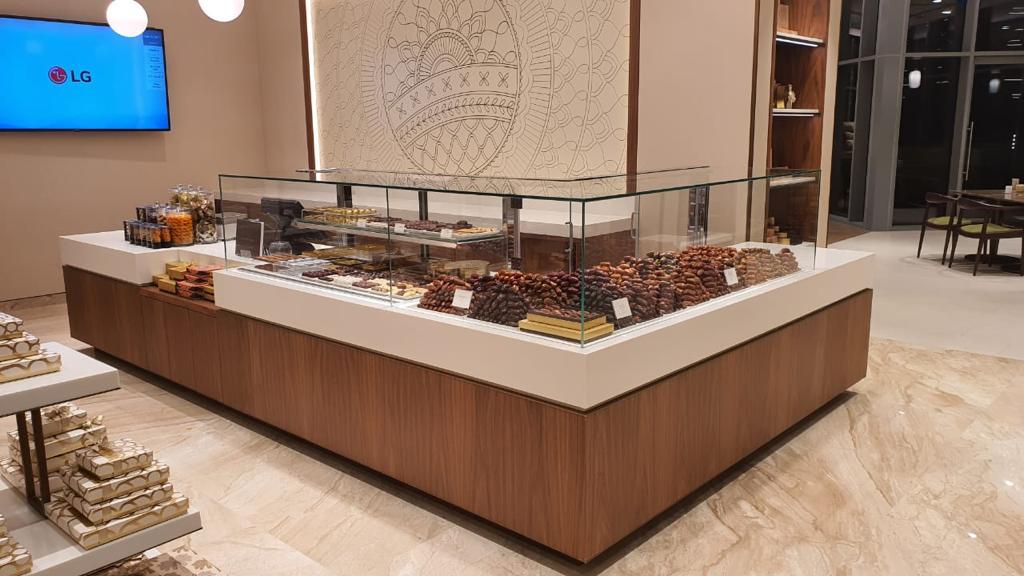 | Bakery, Cake & Confectionery Displays L-Shaped Bakery Display Counter Vinaayak Enterprises L-Shaped Bakery Display Counter is designed for bakeries, cake shops, cafés, hotels, restaurants and confectionery stores that... View product → |