An efficient beverage area moves drinks from storage to customer handoff without forcing staff to cross dirty-glass returns, waste, ice or waiting customers. You will be able to map the workflow, calculate the space and capacity you need, compare counter formats, and specify the fittings and utilities that keep service fast and hygienic.
Key takeaways
- Route clean supplies in and finished drinks forward.
- Size counters and aisles for peak-period staff movement.
- Separate dirty returns, waste and clean drink preparation.
- Specify ice, drainage, power and water before installation.
Build a One-Way Beverage Workflow
Arrange the beverage service area layout as a one-way path: supplies enter at the back, drinks move forward to preparation and handoff, while dirty items and waste leave through a separate return route. This prevents staff carrying used glasses past clean cups or reaching across garnishes with contaminated hands.
- Receiving and storage: unload syrups, bottles, cups and garnishes at the rear, then place frequently used stock in dedicated shelves, refrigerators or drawers closest to its workstation. Keep liquor, mixers and food garnishes in separate, labelled zones.
- Ice and water: position the ice machine or ice bin after storage and before dispensing. Protect scoops in a clean holder, keep the ice lid closed, and fit each water branch with a shut-off, pressure regulator and non-return protection.
- Preparation and dispensing: place the blender, espresso machine, taps and mixers in sequence, with the garnish station beside final assembly rather than beside the sink. Keep clean-glass storage above or behind this zone, away from splashes.
- Customer handoff: move completed drinks to a pickup shelf or pass facing the queue. Keep customers out of the preparation path and avoid returning finished drinks through the clean-glass area.
- Dirty-glass return and washing: direct used glasses to a clearly marked dirty-glass return point beside the glasswasher or wash sink, with no route through preparation. Provide a dedicated handwashing basin with soap and hygienic drying.
- Waste: place covered waste and recycling bins beyond washing or on a separate service side, so discarded garnishes and rinse water never share the clean supply route.
Size the Area Around Peak Demand and Safe Movement
Start with the busiest 15-minute period, not average daily sales. Convert it to drinks per hour, divide by 60, and size each station to exceed that minute-by-minute rate after allowing for ice recovery, restocking and payment delays.
Use these inputs to set capacity:
- Staff count: give each person a defined station; two workers sharing one narrow reach zone create collisions.
- Menu complexity: espresso, blended, garnished or alcoholic drinks need more preparation space than a dispense-only menu.
- Queue length: reserve separate customer waiting space; do not turn the staff aisle into a queue.
- Floor area: if space is tight, reduce simultaneous menu steps or add batch preparation rather than squeezing in another machine.
- Peak rate: compare required drinks per hour with the slowest station, such as ice, washing, blending or handoff.
A practical starting point is a 650–750 mm deep worktop and a 900–1,050 mm working height, then adjust for equipment. Keep at least 1,100 mm behind the counter for one-person staff circulation; allow about 1,200–1,500 mm where two workers pass or open undercounter equipment. Follow each installation manual’s condenser and service clearances.
The bar counter dimensions must also leave a clear customer approach, door swing and emergency egress route. A long counter does not increase service capacity if staff cannot reach ice, cups or waste without crossing the handoff path.
Choose the Counter Shape and Construction Method
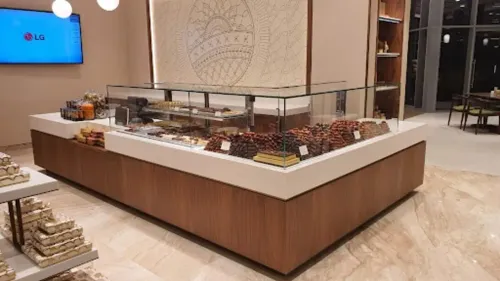
A round bar counter suits a visible, social service point where customers sit around the perimeter and staff serve from a central work zone. Choose a shaped cocktail counter when you need curved edges, corner access or a distinctive footprint; choose a straight-line counter for narrow rooms, simple menus and the shortest installation path.
| Option | What it means | When it applies |
|---|---|---|
| Round bar counter | Circular or semicircular customer-facing counter | Use for central service, interaction and multiple pickup directions; avoid it when floor area and storage are tight. |
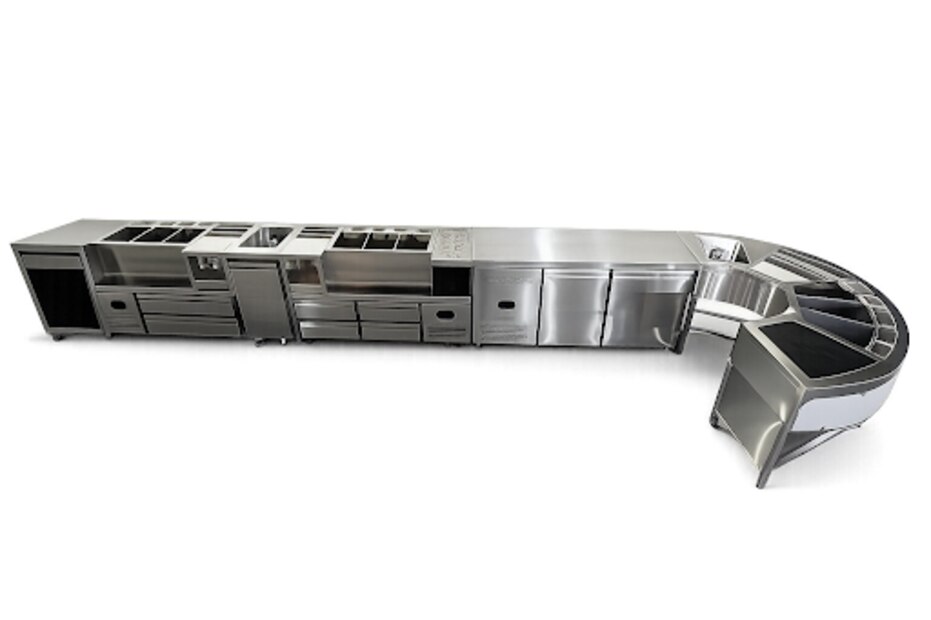
| Shaped cocktail counter | Custom curve, angle or L-shaped profile | Use when the room, queue or seating needs a tailored footprint; price the extra fabrication and harder replacement work. |
| Straight-line counter | One continuous front-to-back work run | Use for compact beverage menus, predictable staff positions and easy utility routing. |
| Built-in cocktail station | Fixed counter with integrated ice, sink, refrigeration and dispensing | Use for high-volume service in a permanent site with known plumbing, drainage and electrical points. |
| Modular cocktail station | Freestanding sections that connect to services | Use for leased premises, pop-ups or menus likely to change; accept visible joints and less design integration. |
For any option, demand an installation drawing before fabrication. Show water branches, drain elevations, electrical isolators, service clearances and access to filters, CO₂ cylinders, condensers, pumps and refrigeration. Include a dedicated handwash point with soap and hygienic drying; a glasswasher or prep sink cannot replace it.
Use sealed, cleanable surfaces and removable access panels so a blocked condenser or leaking drain does not turn a custom counter into a shutdown.
Specify the Workstations, Ice System and Utilities
During a rush, arrange the counter in one direction: receiving and storage, ice and treated water, preparation, dispensing, clean-cup pickup, dirty-glass return and waste. Keep clean glasses and garnish away from returned glassware, drains and refuse so staff do not carry contamination across the service path.
Specify these fittings at each station:
- A speed rail below the working edge for frequently used bottles, with a bottle well for chilled spirits or mixers.
- A refrigerated garnish tray with covered inserts, positioned beside the preparation board rather than beside the waste opening.
- A dedicated hand-wash basin with soap and hygienic hand drying; a glasswasher or prep sink is not a substitute.
- Separate clean-cup shelving, a dirty-glass landing shelf, a waste chute and a pickup ledge so handoff does not block replenishment.
Choose the ice arrangement against sustained demand, not average sales. Product ice, cup chilling, spillage and machine recovery all consume capacity; bin volume and production rate solve different problems.
| Ice setup | Best fit | Main limitation |
|---|---|---|
| Undercounter machine with bin | Short runs and compact bars | A full bin cannot offset slow production during a long rush |
| Remote machine with storage bin | High, sustained demand | Needs service access, a safe drain and more installation space |
| Dispenser with integrated ice maker | Fast self-service or soft-drink stations | Less flexible for cocktail production and manual scooping |
Connect the machine to treated potable water and a protected drain that cannot back up into the bin. Use the site’s 230 V, 50 Hz supply, dedicated circuits, pressure regulators, non-return protection and an accessible shut-off on every water branch.
Make the Beverage Area Serviceable and Ready for Change
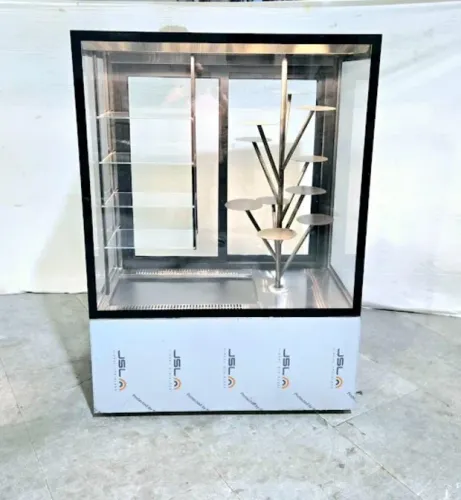
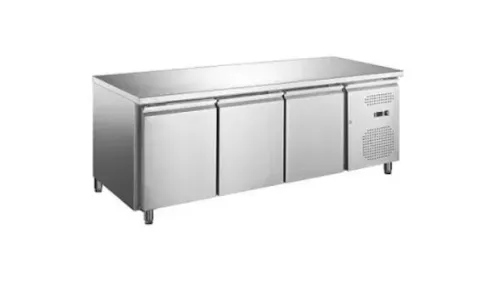
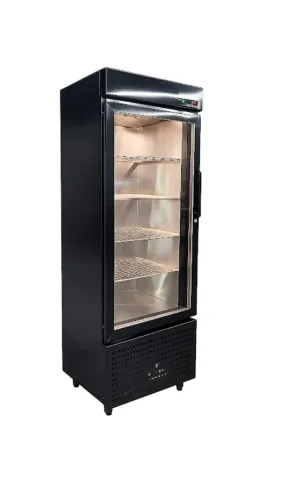
Write the equipment brief as an installation document, not a shopping list. For every SS back bar and undercounter refrigeration unit, record usable internal volume, recovery after repeated door openings, ambient-temperature rating, ventilation clearance, door swing and condenser access.
State whether the condenser rejects heat into the room; remote-condensing equipment costs more and is harder to install, but reduces heat near staff and ice.
Match water filtration to the incoming-water problem and the recipe. Specify:
- Sediment filtration for particles that damage valves and pumps.
- Activated carbon for chlorine and unwanted taste.
- Scale control or softening for heaters and ice machines.
- Reverse osmosis only when dissolved solids require it; record remineralisation or blending, because untreated permeate can make coffee taste flat.
Show the supply, isolation valve, filter-change clearance, sink waste, ice bin drainage and floor-drain route on the drawing. A drain that ends behind a sealed counter turns cleaning into dismantling.
Your schedule must also state connected electrical load, breaker size, isolator position and dedicated-circuit requirements for espresso machines, boilers, water heaters and dishwashers. Add CO₂ cylinder location, regulator access and shutoff position. Keep filters, cylinders, condensers, pumps and isolators reachable without moving a loaded bar.
Vinaayak Enterprises can prepare a utility drawing that exposes these conflicts before fabrication. Reserve capped connections, removable panels and adjustable storage for a menu change or lease move.
Frequently asked questions
How should a beverage service area be arranged?
Use a one-way workflow: supplies enter at the back, drinks move through preparation to handoff, and dirty items and waste leave through a separate return route.
How do you size a beverage service area?
Size it around peak demand, the number of staff working simultaneously, equipment footprints and safe movement between preparation, handoff and return points.
Which beverage counter shape and construction method should you choose?
Choose a straight, L-shaped or U-shaped counter according to the room and workflow. Specify hygienic, durable construction with accessible joints, edges and service panels.
What equipment and utilities does a beverage station need?
Plan workstations for preparation and handoff, an ice system sized for demand, plus the required water supply, drainage, electrical outlets and ventilation.
How can you keep the beverage area ready for repairs or changes?
Leave access to service panels, label utilities, avoid permanently blocking equipment and allow capacity for replacement machines or changing drink volumes.