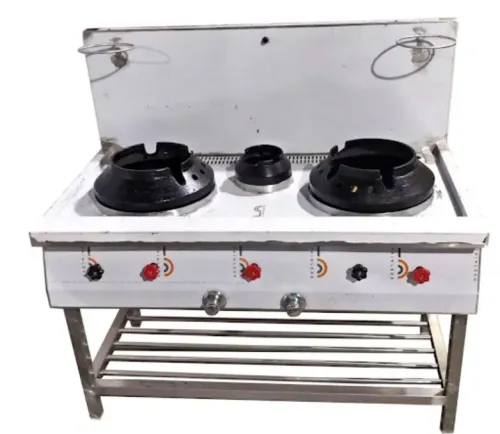
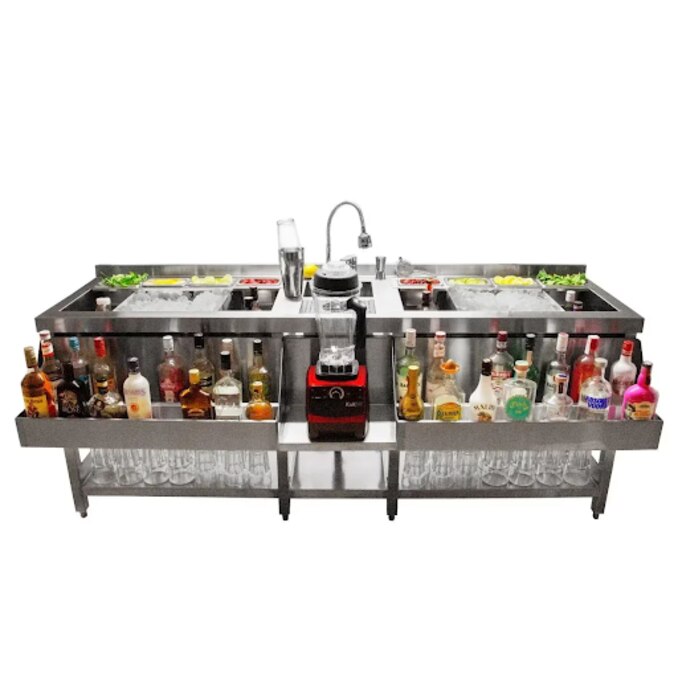
A bar loses time when ice, bottles, glassware, refrigeration and wash-up equipment sit in the wrong sequence or compete for the same counter space. Use the service flow, demand numbers and installation checks below to build a bar that moves drinks from retrieval to handoff without compromising temperature control, sanitation or staff movement.
Key takeaways
- Map equipment to each step from bottle retrieval through glass washing.
- Size ice production, storage and refrigeration for peak service demand.
- Keep clean glassware, dirty returns, waste and chemicals on separate routes.
- Confirm power, water, drainage, ventilation and access before approving equipment.
Build the Equipment Checklist Around the Service Sequence
Start with the bartender’s hand, not the room’s appearance. A practical bar equipment checklist follows the drink: retrieve the bottle, reach ice, measure and mix, chill, garnish, hand off, collect glassware, and wash it without crossing dirty and clean workflows.
- Bottle retrieval: back-bar shelving, speed rails, bottle labels facing forward, pourers, jiggers and a rail mat.
- Ice handling: an ice machine sized for demand, insulated ice storage, an ice scoop, scoop holder and separate garnish tongs. Never store the scoop buried in ice.
- Beverage preparation equipment: shaker tins, mixing glasses, bar spoons, strainers, muddlers, cutting boards, knives, garnish containers and a hand sink.
- Cooling and dispensing: under-bar refrigeration, bottle coolers, glass chillers, soda or draft lines, regulators and bar dispensing equipment.
- Handoff and control: speed mats, trays, cocktail napkins, straws, picks, order tickets and POS hardware.
- Wash-up: a glasswasher or three-compartment sink, pre-rinse spray, detergent, sanitizer, drainboards, drying racks and a glassware return bin.
| Service need | Compact setup | Higher-volume setup |
|---|---|---|
| Bottle access | Back bar plus speed rail | Multiple speed rails and refrigerated bottle wells |
| Ice supply | Ice machine with ice storage | Separate production and storage capacity |
| Washing | Three-compartment sink | Glasswasher plus dedicated clean and dirty landing space |
Keep chemicals below and away from ice, clean glasses and open garnishes. Specify refrigeration and ice equipment by cleanability and recognized standards such as NSF/ANSI 7 and NSF/ANSI 2, then verify local rules, electrical supply and service access.
Match Bar Types, Work Zones and Capacity to the Menu
A cocktail station should handle ice, shaking, stirring, garnishing and rapid handoff for made-to-order drinks. Keep its wells, speed rails, ice access and garnish space within one step; do not make it the storage point for every bottle or spare glass.
| Zone | Primary tasks | Keep out |
|---|---|---|
| Cocktail station | Mixing, chilling, garnishing and drink handoff | Bulk bottle storage and dirty-glass collection |
| Straight bar counter | Fast pours, beer, wine, simple mixed drinks and customer-facing service | Complex prep that blocks the guest rail |
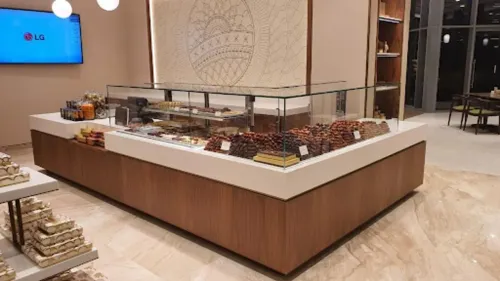
| Shaped cocktail counter | Separating multiple bartenders, creating corners for prep and supporting high-menu variety | A single cramped service point with shared crossing paths |
| SS back bar | Bottle display, reserve stock, glassware and equipment storage | Ingredients needed for every drink unless retrieval is immediate |
Size the layout against the busiest service interval, not the daily average.
- Count peak drinks per 15 minutes and group them by preparation time.
- Match each bartender to a complete working position; two bartenders sharing one ice well or garnish board will collide.
- Add counter length for the menu’s slowest tasks, such as muddling, batch pouring or elaborate garnish work.
- Separate customer ordering from production when queues form at the straight bar counter.
- Give the SS back bar enough accessible storage for the shift, but keep reserve cartons out of the bartender’s movement path.
Run a timed service test with the actual menu. If orders wait while bottles are retrieved, ice is reached or finished drinks cross incoming tickets, the problem is the zone layout rather than the bartender.
Specify Ice and Refrigeration for Peak Demand
Size the ice maker for recovery, not the ice bin: the machine must replace ice during peak demand, while the bin covers a short rush. Treat published output as a test-condition figure; hot room air, warm inlet water, blocked ventilation, scale and a dirty condenser reduce production.
Choose bin capacity for the surge, not hours of idle storage.
| Choice | Best fit | Check before specifying |
|---|---|---|
| cube ice | Spirit-forward and shaken drinks | Confirm daily output, peak-hour recovery and slower melt |
| nugget ice | High-volume soft drinks and crushed-ice service | Confirm fast turnover, bin replenishment and sanitation |
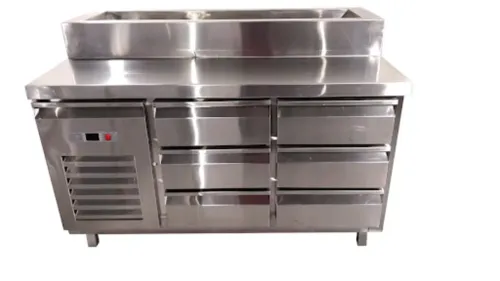
| under-bar refrigerator | Garnishes, mixers and cold-held TCS ingredients | Measure product temperature, not only cabinet air |
- Verify that cold-held TCS ingredients and prepared drinks containing them stay at 5°C or below. Use a probe thermometer in the warmest practical product, because an air display can mislead.
- Specify refrigeration and ice equipment against NSF/ANSI 7 and NSF/ANSI 2; separately confirm local regulations, electrical compatibility and service access.
- Match water treatment to the problem: carbon reduces chlorine, taste and odour; hard water needs a softener or suitable reverse-osmosis system. Budget for cartridges, reject water and changed ice quality.
- Keep detergents, sanitisers and degreasers away from ice, clean glassware and open garnishes. A chemical shelf beside the ice bin is a layout failure.
- Date-mark ready-to-eat TCS items held beyond 24 hours; the FDA model limits them to seven days, counting preparation or opening day as day one.
Separate Clean, Dirty, Waste and Chemical Work
A bar stays fast when dirty returns have one route and clean glassware another. Put a dedicated handwashing sink near the station, supplied with water at least 38°C under the FDA Food Code model; reserve it for hands. Rinsing shakers there or dumping drinks creates a cross-contamination point.
For manual warewashing, install a three-compartment sink with separate wash, rinse and sanitizing bays, plus drainboards or a rack for air-drying. A glasswasher speeds turnover, but it does not replace a method for heavily soiled items or routine cleaning of its interior, spray arms and surrounding surfaces. Keep clean and used racks apart.
Use this layout checklist:
- Place glassware storage above or away from splash zones, using smooth, washable shelves that let staff reach glasses without touching rims.
- Give empty bottles, broken glass and general refuse separate, lidded waste containers. Keep them on the dirty side, away from garnishes and ice.
- Keep detergent, sanitizer and degreaser in a labelled chemical cabinet away from food, ice, clean glassware and food-contact equipment. A shelf below the ice bin or beside open garnishes is unsafe.
- Specify coved or sealed joints, removable cleanable parts and clearance behind equipment. Syrup trapped in seams and drains slows closing sanitation.
Check Installation Details Before You Approve the Purchase
Before ordering, obtain a signed installation drawing showing equipment dimensions, clearances, utility points, drain routes and access panels. Confirm the site’s voltage, phase, frequency and plug standard; a 60 Hz motor on a 50 Hz supply can damage compressors, heaters or pumps even when an adaptor fits.
- Request NSF/ANSI 7 compliance for refrigerators and freezers, and NSF/ANSI 2 compliance for food-contact equipment, cleanable construction and materials. Confirm local food-code requirements separately.
- Measure doorways, lifts, counter openings and the route to the final position.
- Specify coved or sealed joints, smooth welds, removable parts, and clearance beneath and behind cabinets. Exposed screws, crevices and blocked drains trap syrup and residue.
- Test refrigerated product temperature with a probe thermometer in the warmest practical container, not only the cabinet’s air display.
- Keep a dedicated handwashing basin separate from glass and bar sinks. It needs water at least 38°C under the FDA Food Code model and cannot be used for tools or drink waste.
- Ask for compressor, pump and control-panel access without dismantling the counter, plus parts availability, response times and warranty conditions. A commercial kitchen equipment supplier should document these points before deposit.
Cooling choice affects both installation and running cost:
| Option | Installation consequence | Choose it when |
|---|---|---|
| Air-cooled ice machine | Rejects condenser heat into the room; increases HVAC load | Ventilation and cooling capacity are adequate |
| Water-cooled ice machine | Reduces room heat; requires extra water use and a drain | HVAC capacity is tight and water/sewer cost is acceptable |
Vinaayak Enterprises can help translate the drawing into a workable cocktail-station or back-bar layout, but you should approve the utilities and service clearances yourself.
Related products
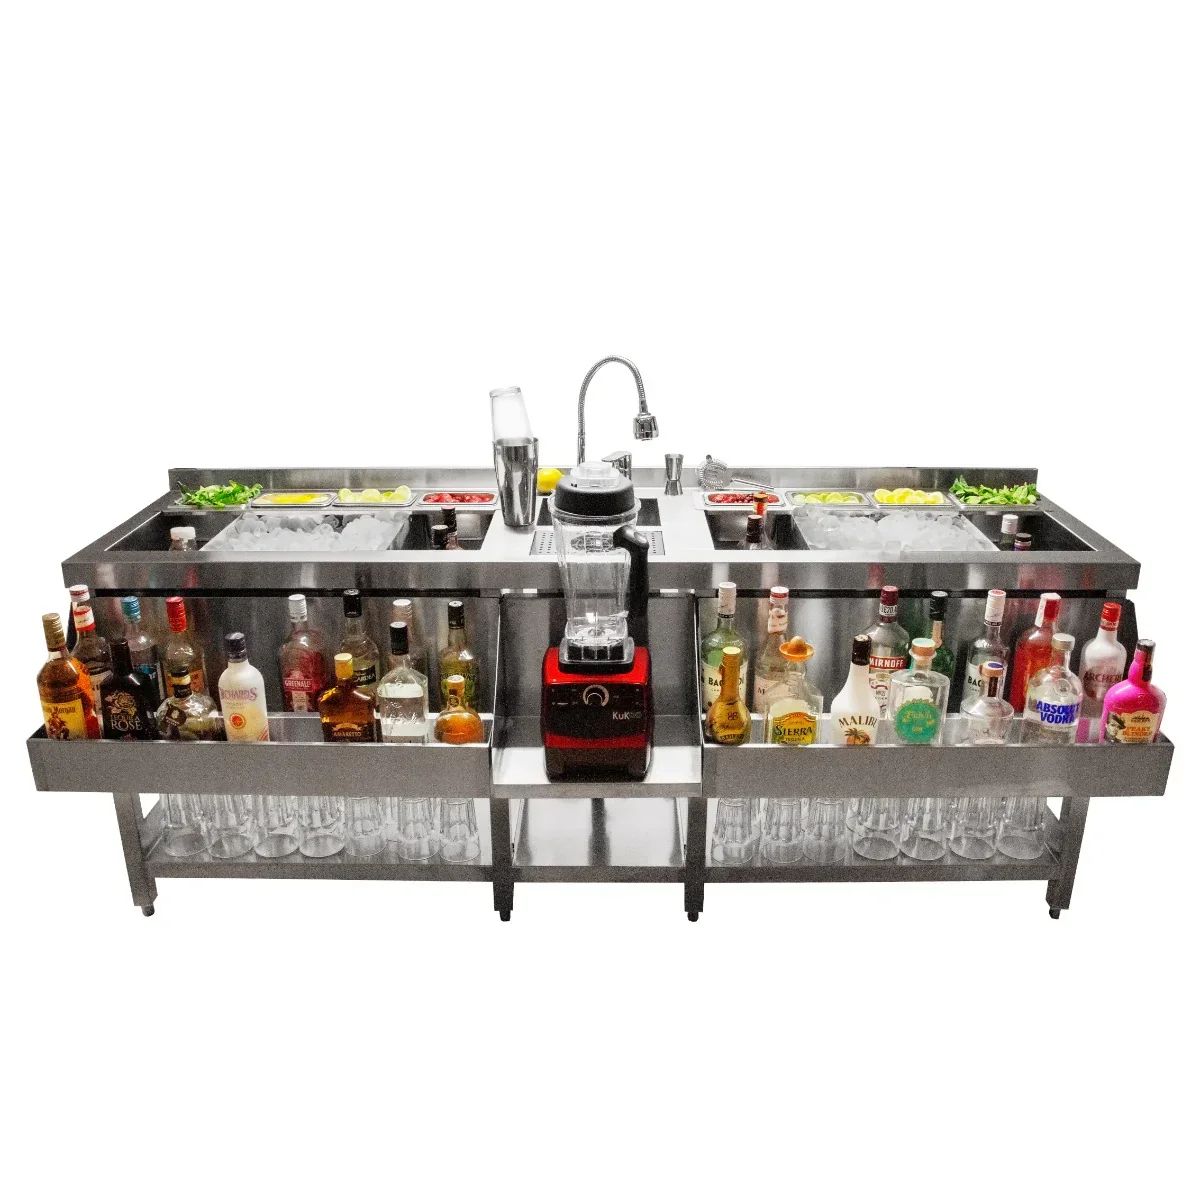 | Bar & Beverage Equipment Vinaayak Enterprises offers premium-quality Cocktail Stations designed for efficient beverage preparation and organized bar operations in commercial... View product → |
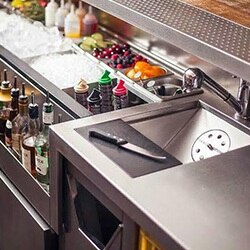 | Bar & Beverage Equipment A well-designed bar setup requires high-quality and durable equipment to ensure smooth operations, efficient beverage preparation, and an excellent... View product → |
Frequently asked questions
How should you organise a bar equipment checklist?
Follow the service sequence: retrieve the bottle, reach ice, measure and mix, chill, garnish, hand off, collect glassware and wash it. Place equipment in work zones that support this sequence without crossing clean and dirty workflows.
How do you match bar equipment to the menu and bar type?
List every drink category, preparation method and service volume first. Then specify stations for spirits, cocktails, beer, wine, coffee or blended drinks, with equipment capacity based on peak demand rather than average sales.
How do you size ice and refrigeration for a busy bar?
Calculate ice use across shaking, stirring, serving and chilling, then provide enough production and storage for the busiest service period. Match refrigerators, bottle coolers and under-counter units to the menu, stock levels and replenishment access.
What installation details should you check before buying bar equipment?
Confirm electrical load, socket location, water supply, drainage, ventilation, floor loading, door clearance and service access. Check these measurements against the final equipment layout before approving the purchase.
Related products
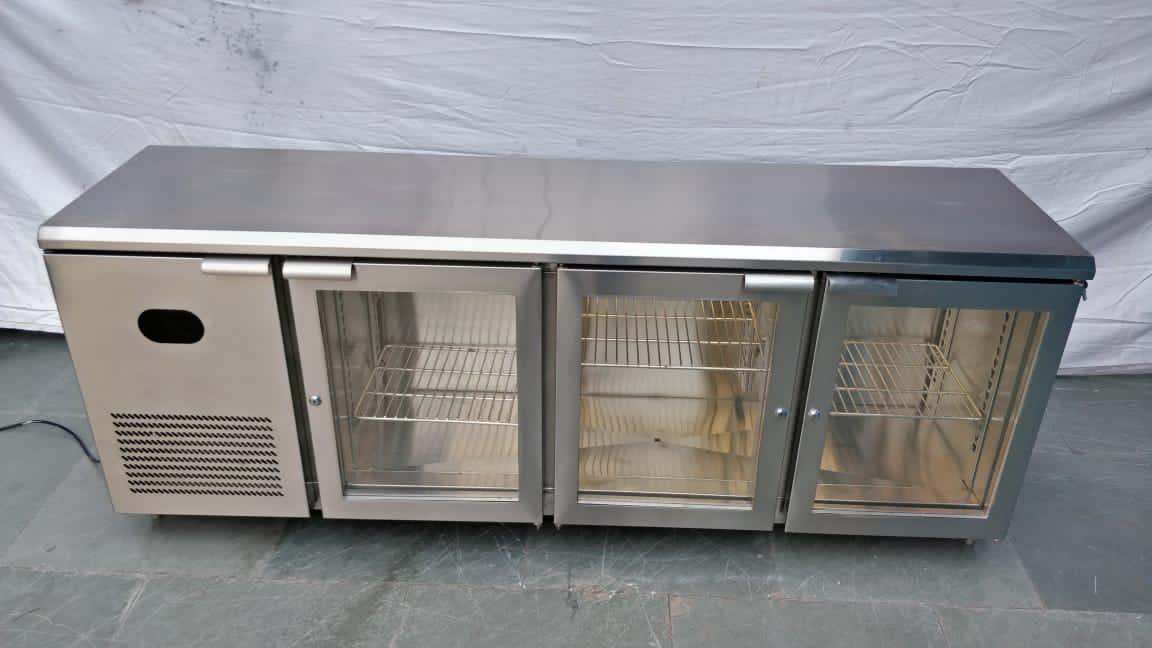 | Bar & Beverage Equipment Vinaayak Enterprises offers premium-quality SS Back Bar designed for efficient beverage storage, cooling, and display in commercial hospitality... View product → |
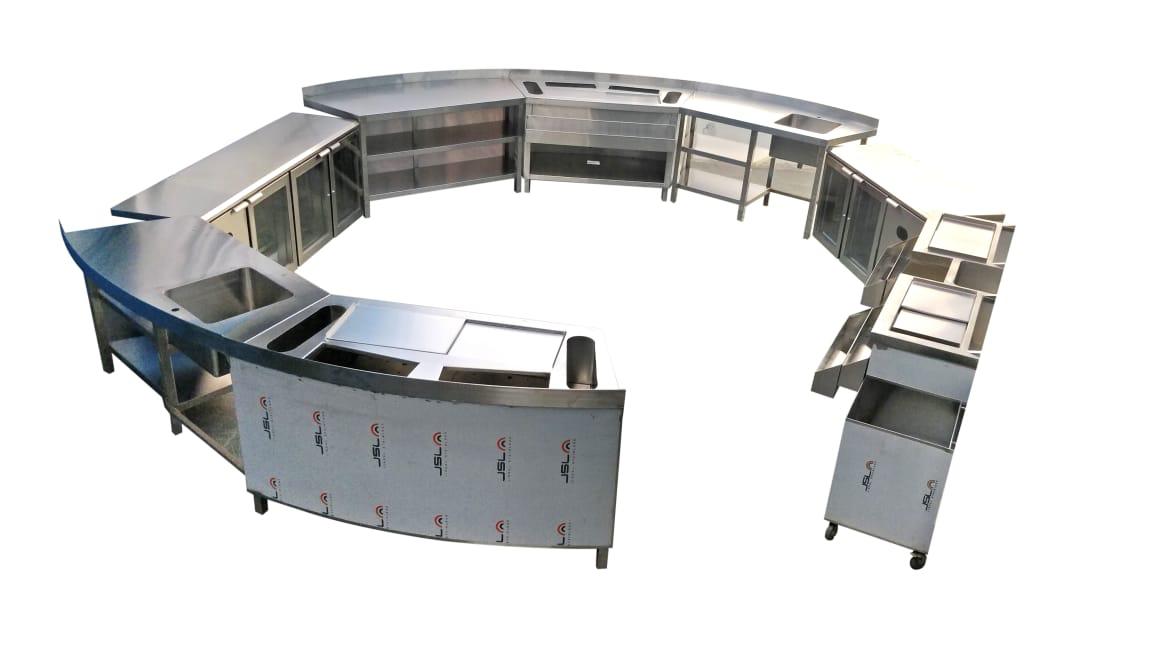 | Bar & Beverage Equipment Vinaayak Enterprises offers premium-quality Round Bar Counter designed to provide a stylish, modern, and functional beverage serving solution for... View product → |
 | Bar & Beverage Equipment Vinaayak Enterprises offers premium-quality Shaped Cocktail Counter designed to provide a stylish, functional, and professional beverage serving... View product → |
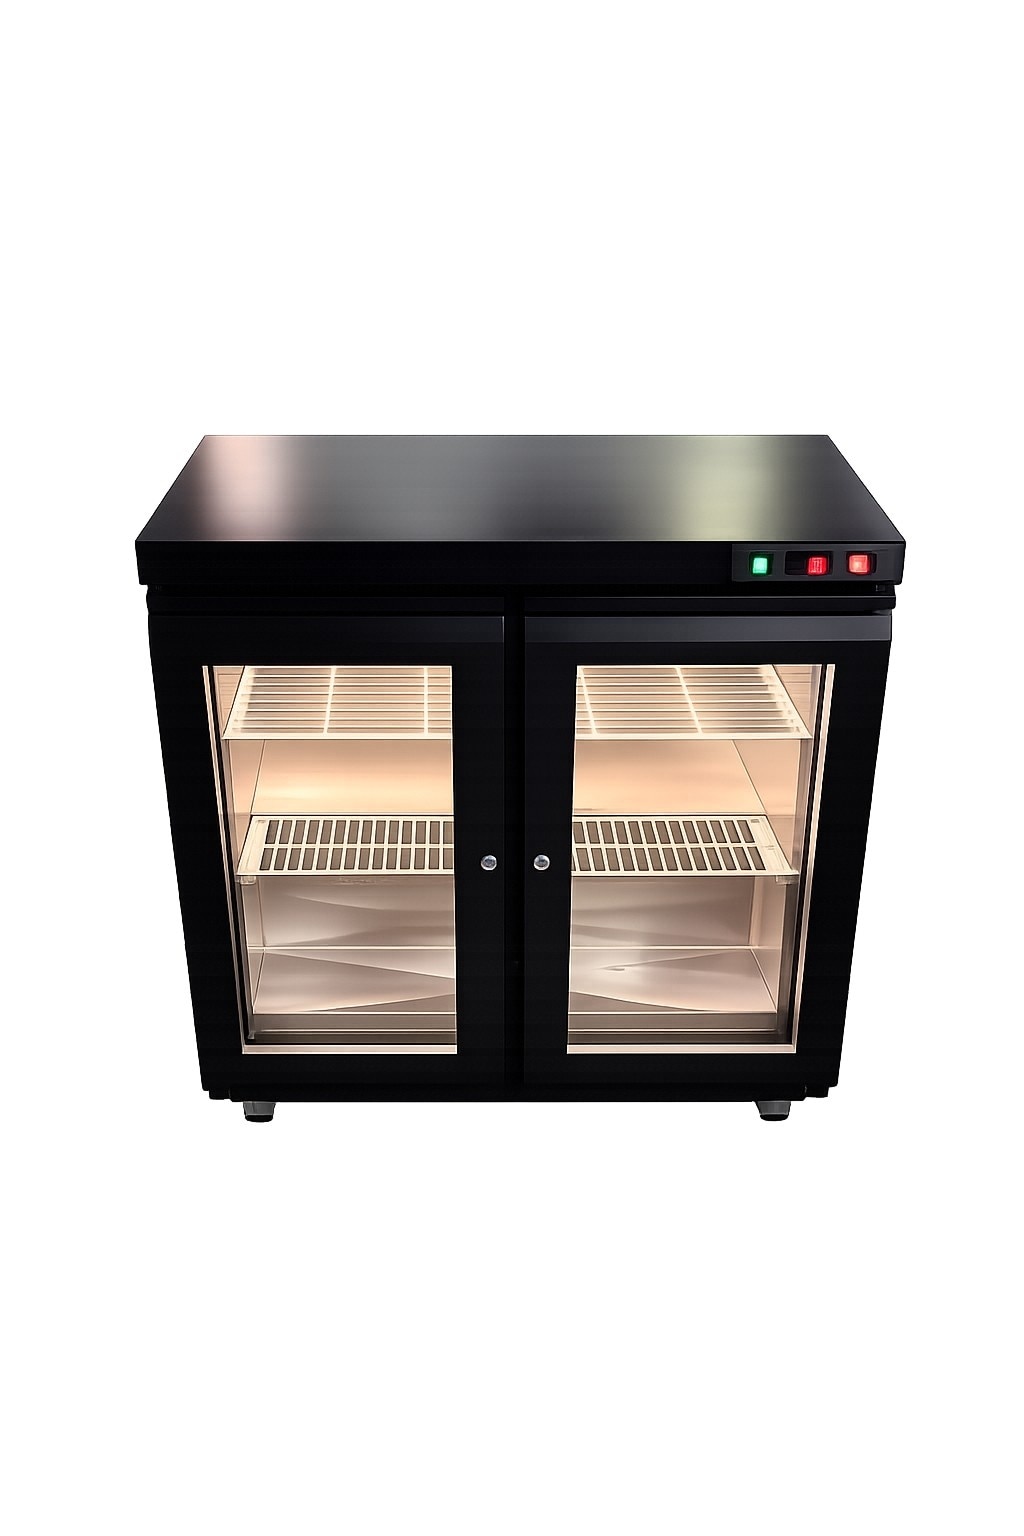 | Bar & Beverage Equipment Vinaayak Enterprises SS 2-Door Back Bar Chiller is designed for professional bars, restaurants, hotels, cafés, lounges and hospitality establishments... View product → |